Button Maker
Equipment
The Barnard Design Center has two button makers and graphic punches:
- 1.25 inch
- 1.50 inch

Getting Started: Button Maker
Software: Illustrator & Photoshop
The Design Center doesn't officially train on software (beyond any that's already associated with our tools), but we can point you in the direction of some fantastic online resources for in-depth learning. Below are some linked tutorials for some of the more popular program's users ask about:
The Design Center has Illustrator and Photoshop. Also, feel free to visit AmericanButtonMachines to utilize their 1.25-inch 1.50-inch circle templates here.
FAQ: Button Maker
Video covers:
- American Button Maker Template in Photoshop.
Additional FAQ:
Yes, please feel free to create either 1.25-inch or 1.50-inch circles in illustrator. Also, AMericanButtonMachines has many templates available here.
No, but there is a colored printer in the Milstein Lobby. Ask a Design Center staff member to tell you where it is located.
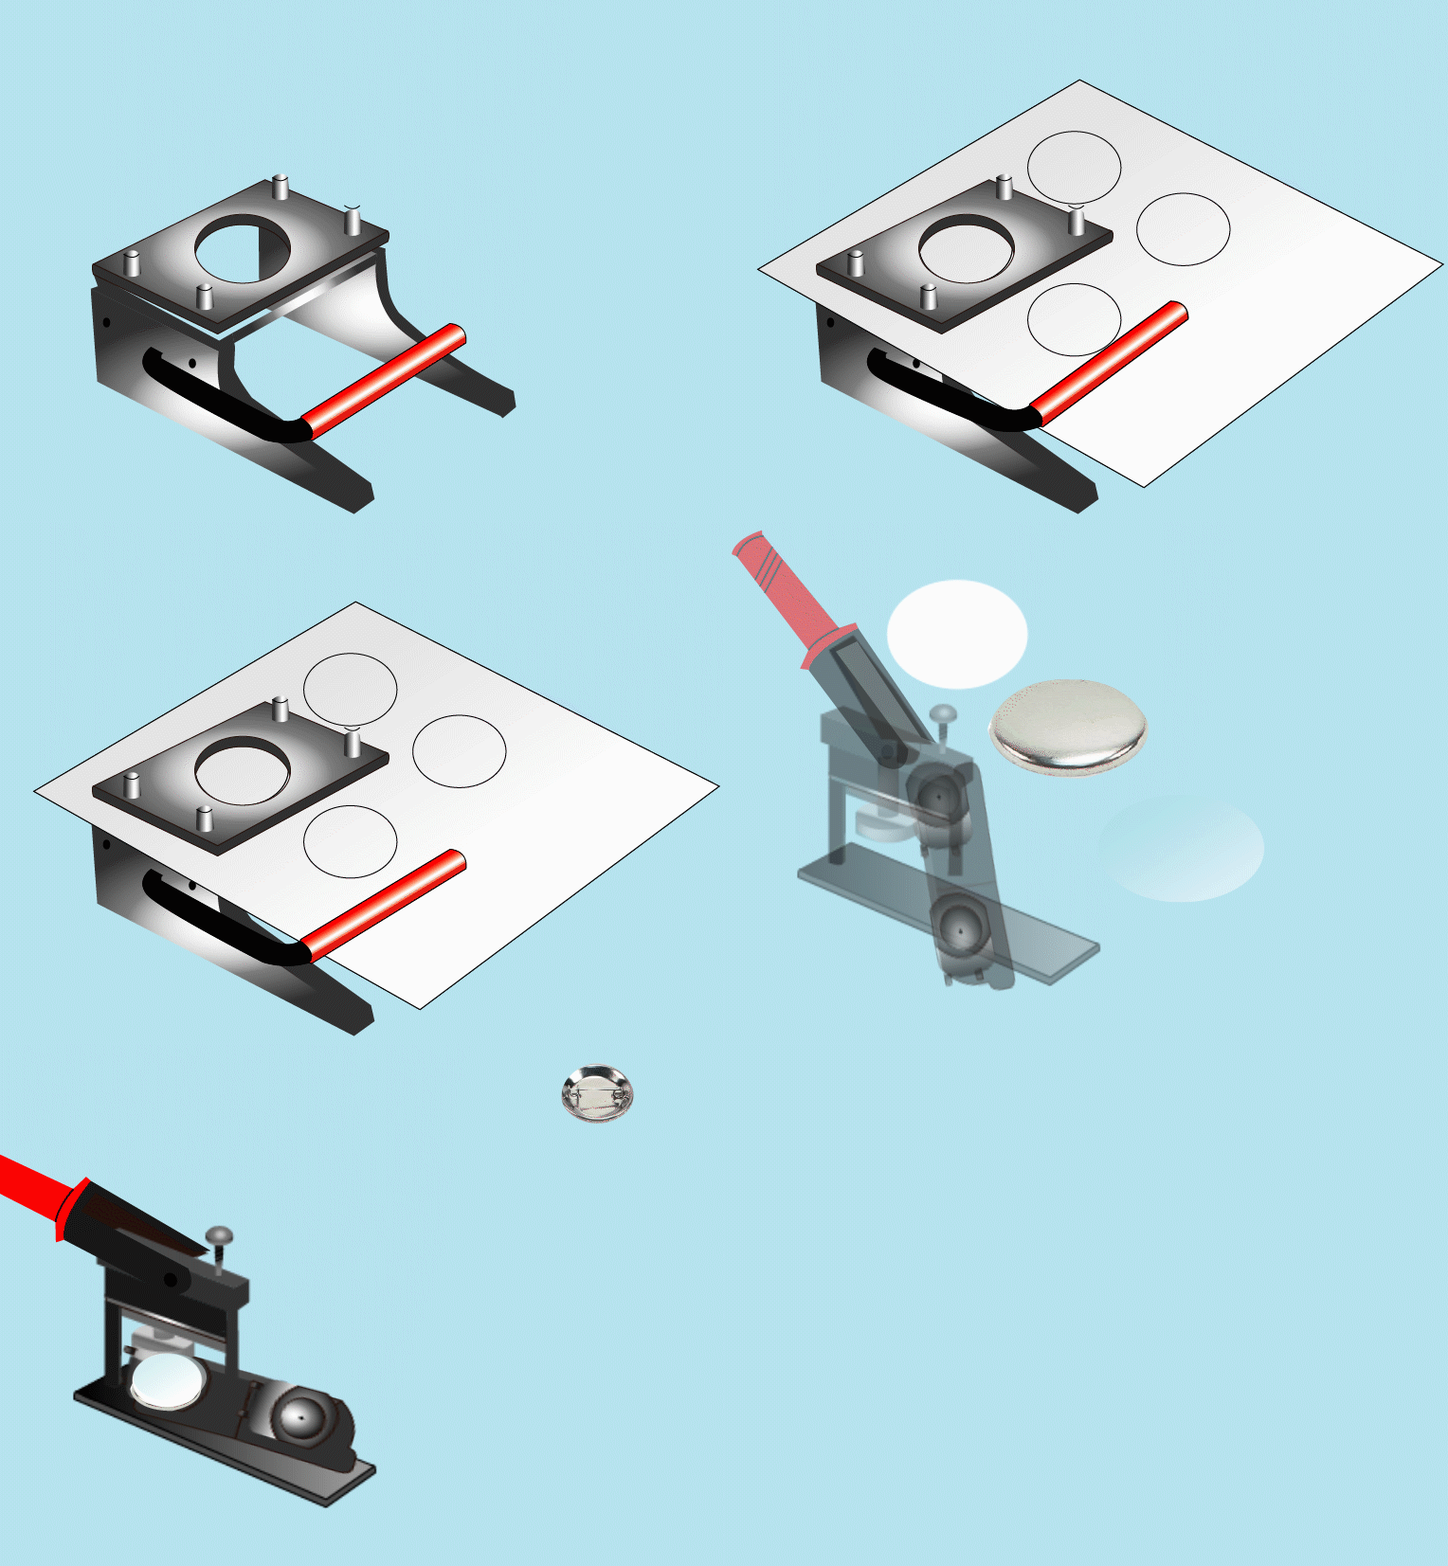
There are 4 pieces needed for a button. Follow this stacking order inside one of the button maker machine two cups (hint: it is the cup that shell fits into):
- Shell sharp side down (bottom)
- Your cut out design (middle)
- Clear Mylar (top)
Once the 3 pieces are placed in the correct cup, swivel it! Press down and the button should disappear from the cup. Next, place the last piece, the pinback into the other cup - pin side down. Swivel the cup again and lower the lever on to the pinback. Voila! Your pin should be complete!