Cricut
Equipment
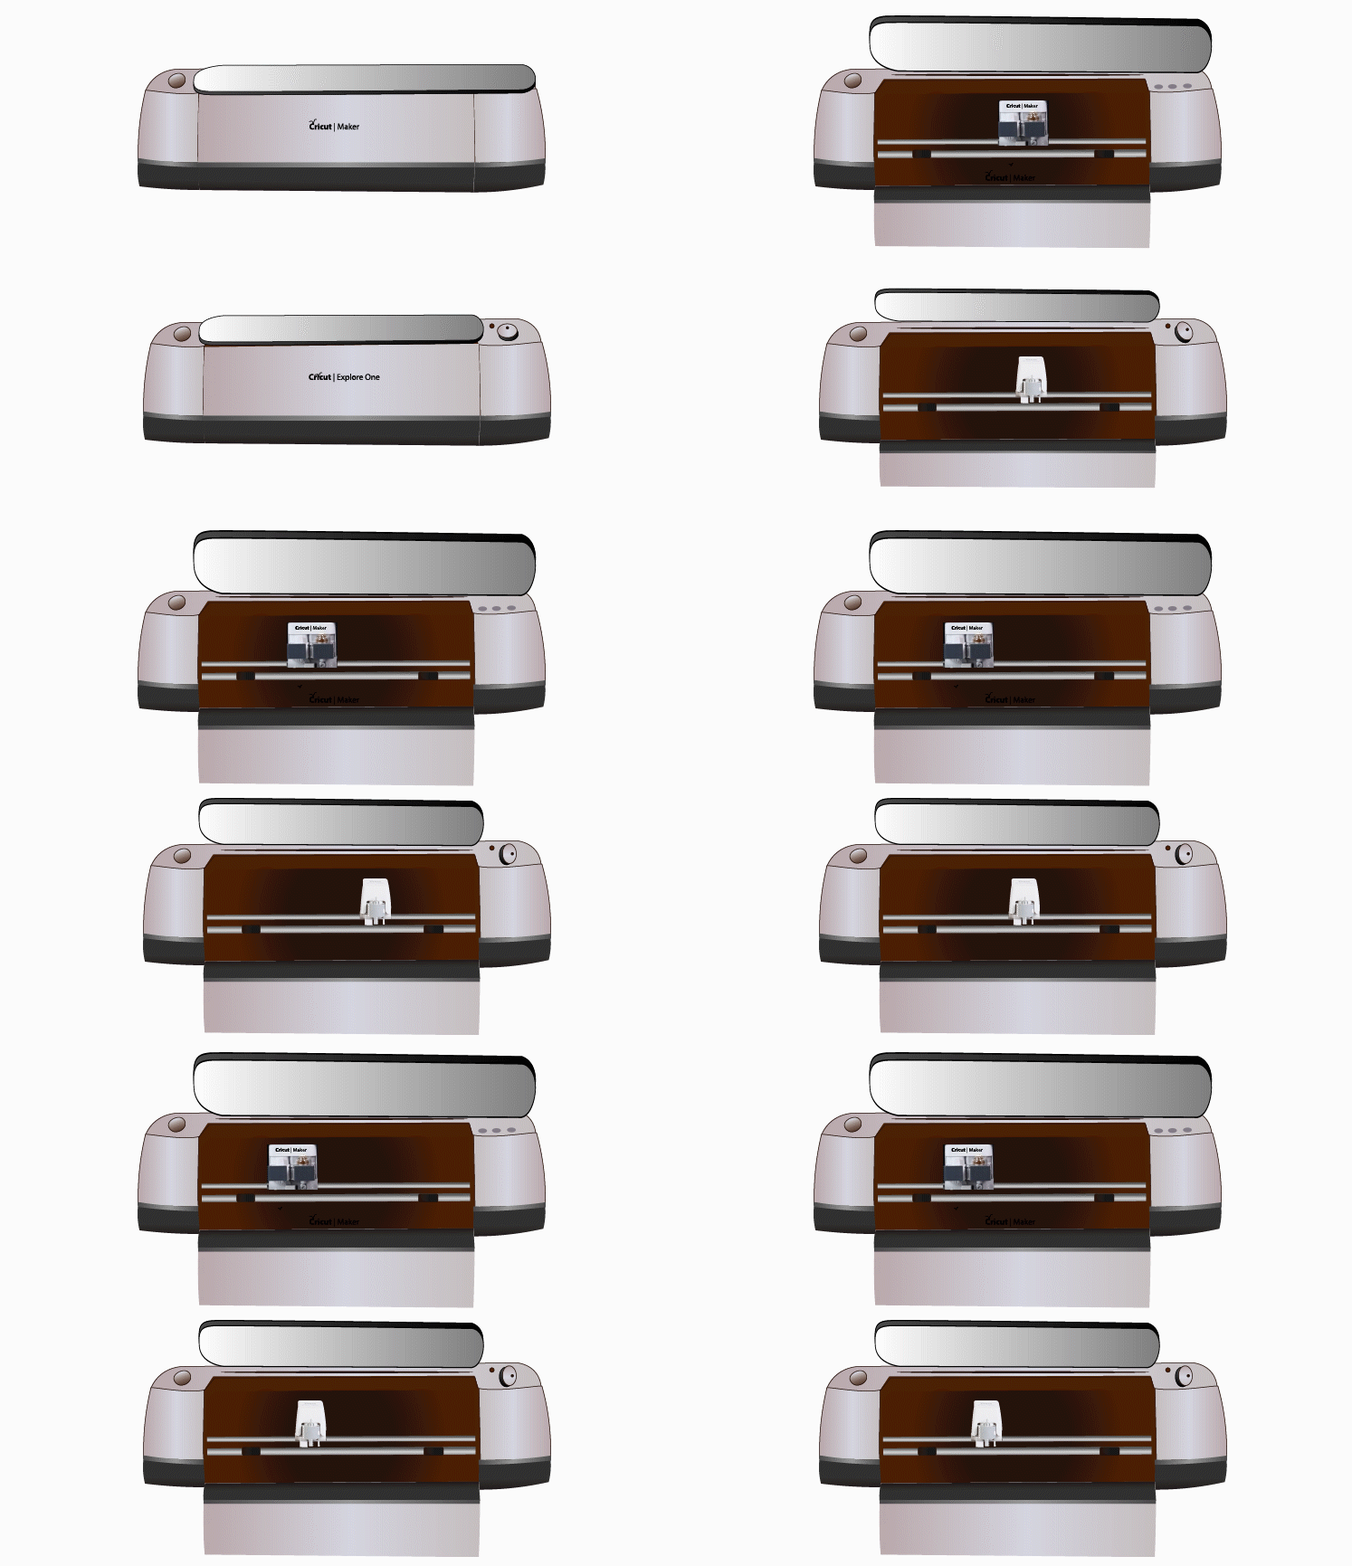
The Barnard Design Center uses the Cricut Maker machines.

Getting Started: Cricut
Software: Cricut Design Space
The Design Center doesn't officially train on software (beyond any that's already associated with our tools), but we can point you in the direction of some fantastic online resources for in-depth learning. Below are some linked tutorials for some of the more popular program's users ask about:
This software is available at the Design Center. Learn more about Cricut here.
FAQ: Cricut
Video covers:
- How to upload an image.
- How to switch line type between cut, score, and draw.
- How to use transfer tape.
Additional FAQs:
Materials include vinyl, construction paper, cardstock, poster board and fabric. However, please feel free to discuss additional materials with the Design Center staff before purchasing materials.
Visit this link to an extensive list of materials on the Cricut website for an Explore and Maker machines here.
The most notable physical difference is that the Explore has a material dial and the Maker does not. The Explore dial allows you to select the material you’re using directly on the machine, whereas when using the Maker, you will select the material on the Cricut Design Space software.
The biggest difference between the Maker and the Explore is the cutting force. The Cricut Maker has 10X the strength and cutting force.
The cutting force of the Explore is 400 grams and the Maker’s cutting force is 4000 grams. THIS IS A HUGE DIFFERENCE because you'll be able to use more powerful tools and more complex materials, like wood, fabric without backing material, etc. However, please consult with the Design Center staff before purchasing and experimenting with new materials.
The maximum dimensions capable by the Explore and Maker are 11.5 inches wide and 23.5 inches long. For larger vinyl designs, please consider the Design Center's Roland Vinyl Cutter machine.
Each Cricut has a USB cord attached to it. Plug the machine's USB into the computer you're using the Cricut software on.
Yes, Cricut software (available at the studio) has an image upload option.
- The formats are .jpg, .png, .gif, .svg, .dxf, & .bmp.
- Select upload in the Cricut software Canvas.
- Select an image layer type based on the detailed complexity of your image.
When you proceed to cut your project, the machine will first move the carriage to the right (this is called "homing") then scan the blade to find out which one is installed.
If you are unsure how to change the blade and marker, please ask a Design Center staff member for assistance.
Look at the top corner of the mat.
- FabricGrip (pink) - fabric and crepe paper.
- StandardGrip (green) - vinyl, iron-on, embossed cardstock, patterned paper.
- LightGrip (blue) - printer paper, vellum, vinyl, thin cardstock, and construction paper.
- StrongGrip (purple) - Thick cardstock, glitter paper, and fabric with stiffener.
The Design Center has clear transfer tape. Feel free to utilize the tape by cutting a piece slightly bigger than your design. Place the tape's sticky side directly on top of your design and smooth it down to remove air bubbles. Then, slowly peel the transfer tape off and voila your design should be stuck to it! If you are unsure, please consult with Design Center staff before purchasing/using your vinyl!