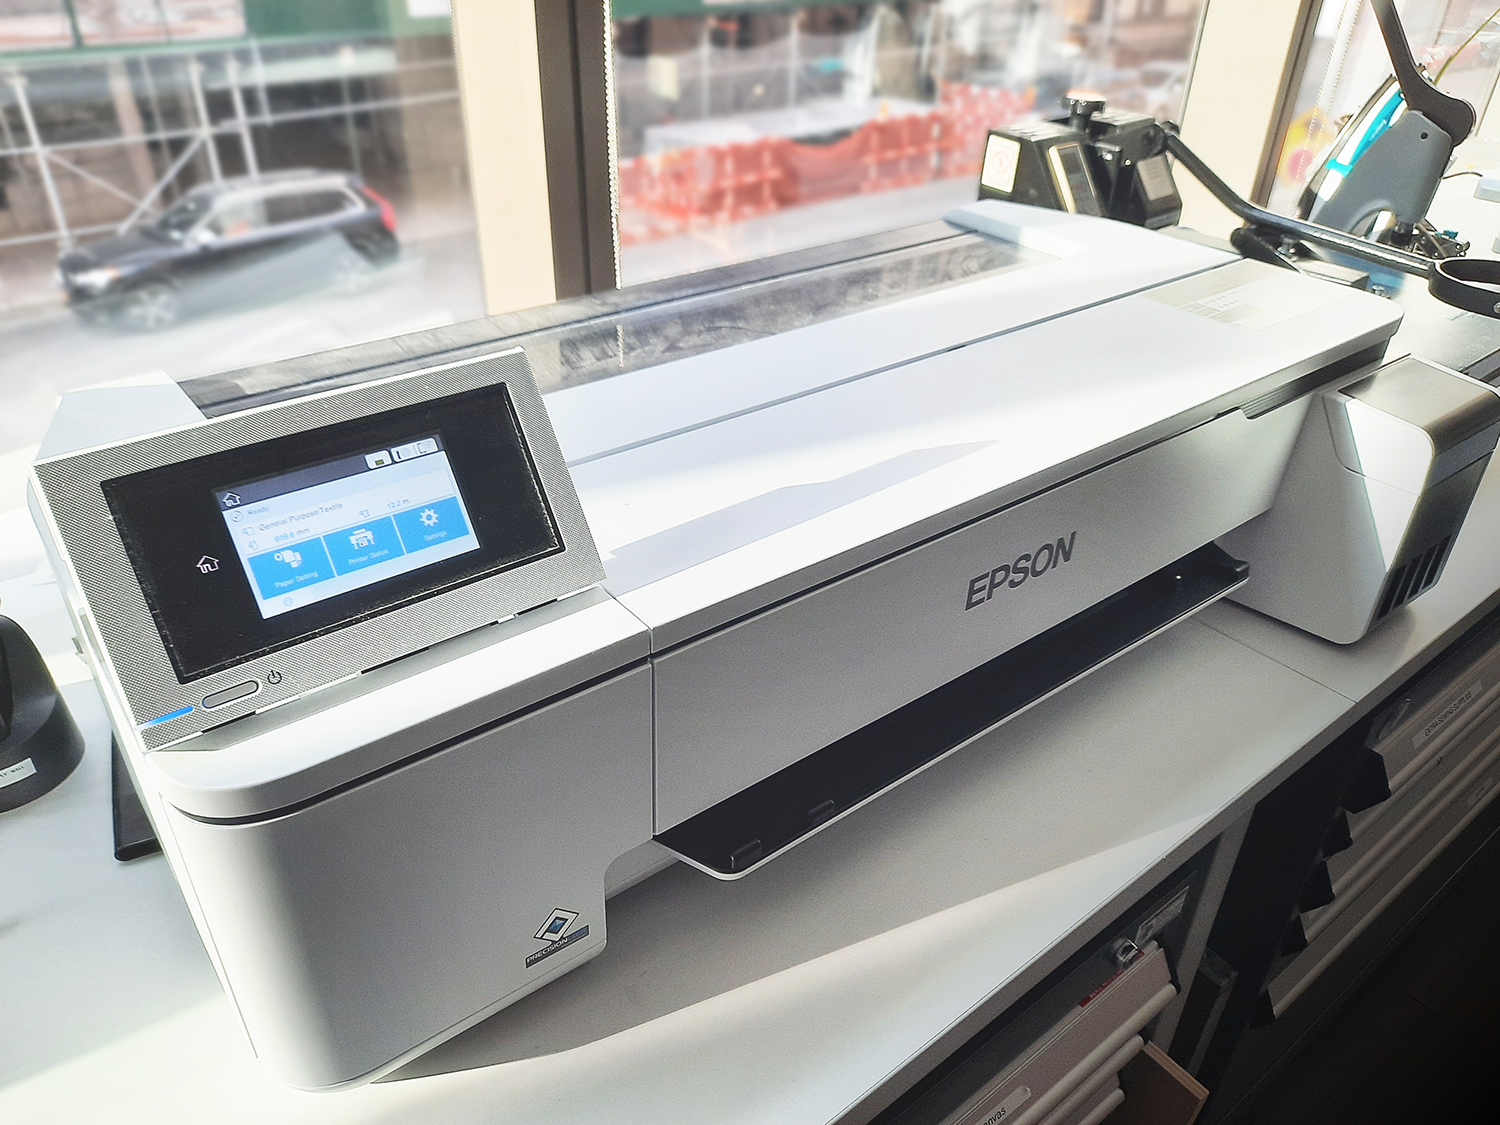
Dye Sublimation Printer

The Design Center has one dye sublimation printer that can be used to transfer digital designs to fabric.
In general, it is better to use silk screening or heat transfer vinyl for most of your projects. You should only consider using the dye sublimation printer if the following are true:
- Your design contains a number of different colors that can't easily be done with silk screening or heat transfer vinyl
- You're looking to transfer a photorealistic image onto fabric
The heat transfer process will work best on synthetic fabrics - either a pure synthetic fiber or a synthetic blend. We also have a sublimation polyester coating spray that can be applied to natural fibers to help the ink hold through washing.
The dye sublimation printer works very much like a standard printer. Make sure the printer is on. Open Photoshop on the computer next to the printer, and open your design. Set the Photoshop colorspace to CMYK by clicking Image>Mode>CMYK Color. This will ensure the colors in your file appear correctly when printed with the CMYK ink in the dye sublimation printer. Be sure the size of the design fits on the fabric swatch/item of clothing you want to print.
You can check the size of your digital image in Photoshop by Image>Image Size> and view/adjust the size in inches, and/or check the dimensions against the rulers in the Photoshop interface. Click Ctrl+R to make the rulers visible if you don’t immediately see them, or go to View>Rulers and select Rulers to ensure they display. You’ll also be able to check and adjust the resolution if needed in Image>Image Size. 72 dpi is the lowest screen-based resolution one generally works with for digital files. High resolution printing should have a resolution set to 300 dpi (or pixels/inch). Medium resolution printing is generally 150 dpi. You can also observe the digital file to scale on the screen to see if the image looks pixelated. You can scale down a high resolution image but you can’t increase the resolution on a low res image. The best you can do for a pixelated low res image is to scale the image size down or see if you can find a similar higher resolution image. Advanced google image searching for medium or high resolution images can be helpful for this.
Once you have the image file the way you want, flatten the file in Photoshop by clicking Layer>Flatten, especially if you have adjustment layers. Next, click File > Print. Make sure the printer is set to the EPSON SC-F500. In the Printer Setup dialogue Color Management box, you can select Color Handling: Printer Manages Colors. Scroll down to Scaled Print Size. Scale should be set to 100% - confirm here your file size is correct. Scale to Fit Media should be unchecked.
Click on Print Settings in the Photoshop Print Settings dialog box. In Printer Settings, Document Size should be selected as ARCH C 18 x 24 in and Orientation: select Landscape > OK. Source: Roll Paper should be selected. At the bottom of the Printer Settings tab page, be sure the Print Preview box is selected. Click on the Layout tab and check the box Mirror Image. Click on the Advanced tab and check the Save Roll Paper box. Then click OK.
Click Print in the Photoshop Print Settings dialog box. The Epson Print Preview window will appear, and display your image on the roll of paper with the cut line. Be sure the image is oriented properly, looks sized correctly, and is close to the paper edge so as not to waste paper. Ensure Save Roll Paper box is checked. Then press Print.
Paper roll length is 24” wide and the heat press surface is 15 inches square.
Once you've printed your design, you'll need to press the design onto your fabric using the heat press with specific time and temperature settings for your textile. If you are using sublimation spray to print on a natural fabric, that should be sprayed on the surface area you're looking to apply ink to first and dried using a blowdryer. You'll set up your textile with the printed image face down against the fabric and secured with heat resistant tape. Teflon fabric should be used to sandwich your fabric and the image to protect the heat press and prevent ink from transferring beyond the layer of fabric you're aiming to print.
See the heat press page for instructions on how to use the heat press.