Silk Screens
Equipment
The Barnard Design Center has two different silkscreen sizes, squeegees, and one silk screening board with clamps.
- 20" x 24" Silk Screens
- 8" x 10" Silk Screens
- Also, some assorted screen sizes (come and check out what we have)

Getting Started: Silkscreen
Software: Cricut Design Space
The Design Center doesn't officially train on software (beyond any that's already associated with our tools), but we can point you in the direction of some fantastic online resources for in-depth learning. Below are some linked tutorials for some of the more popular program's users ask about:

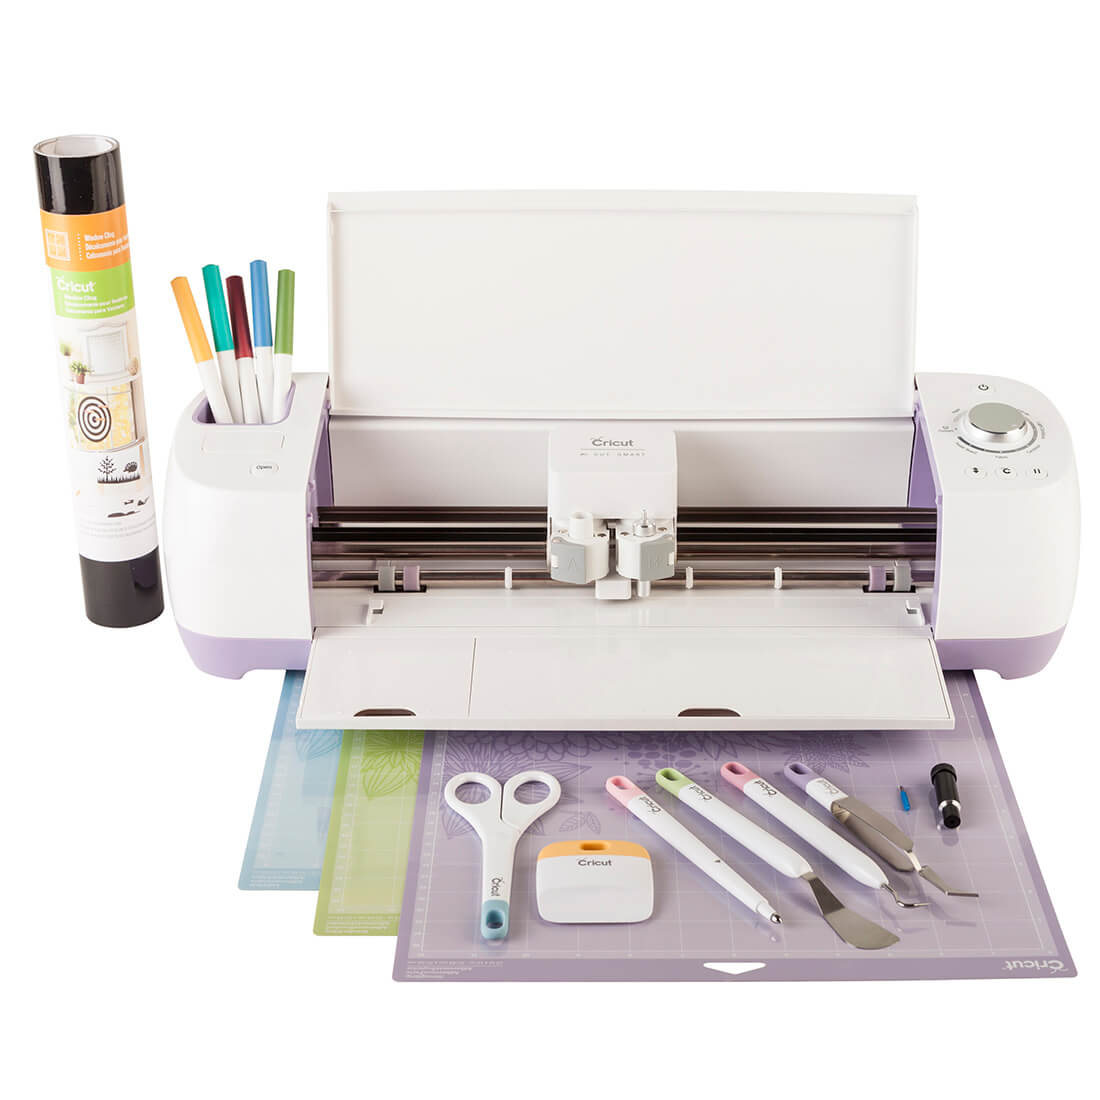
The Design Center has Cricut software and machines. Learn more about Cricut machines and Cricut Design Space here.
FAQ: 20" x 24" Silk Screens
The video covers Cricut for vinyl designs:
- How to upload an image.
- How to switch line type between cut, score, and draw.
- How to use transfer tape.
Additional FAQ:
Follow steps:
- Smoothly cut your finished design from vinyl (do not remove it from back lining yet).
- Cut a piece of transfer tape that is slightly bigger than your design.
- Place the transfer tape onto the design and rub the tape onto the design to ensure adhesion.
- Slowly, remove the transfer tape with your design stuck to it from the backing by pulling the tape back rather than up. Be careful to not stretch the vinyl.
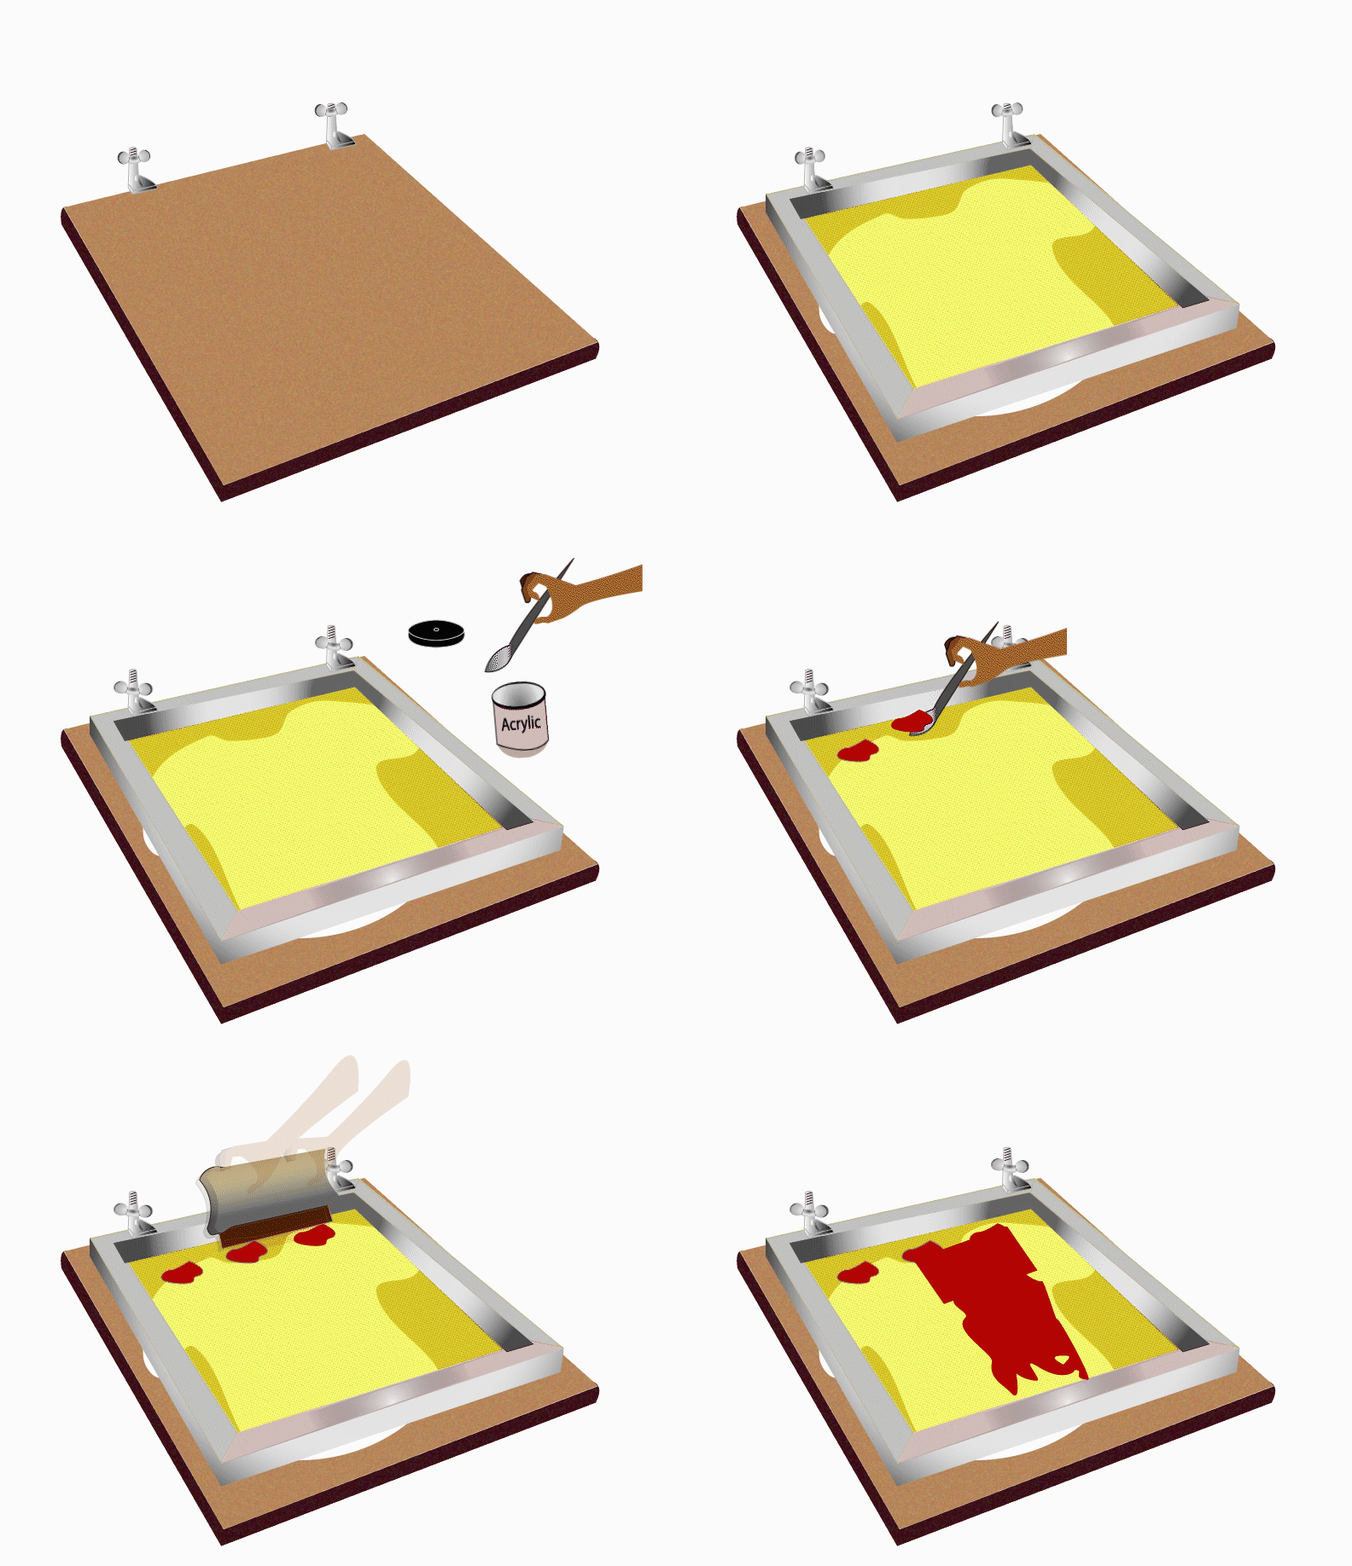
- Note* - The silkscreen has two sides: The backside where the screen is parallel to the frame. The front side is where the screen is dipped in and lower than the frame.
- Slowly, remove your vinyl design from the tape onto the backside of the screen.
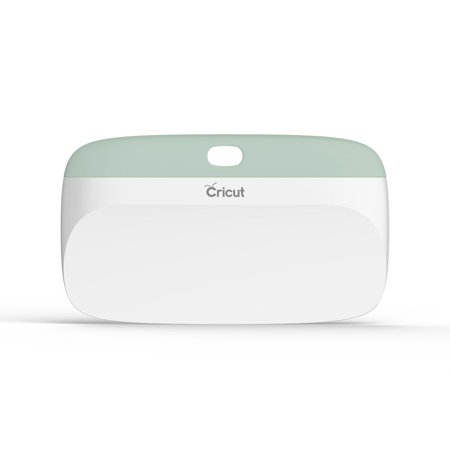
- Avoid air bubbles, but if it happens utilize a Design Center Cricut scrapper to smooth them out.
- Use Design Center tape to tape all open areas of the screen's backside. The only open area should be where you plan for paint transfer onto your material.
- Place your material (you wish to silkscreen) onto the wooden silkscreen board.
- Place the silkscreen into the board two clamps. Tighten until firmly held.
- Select acrylic paint from the Design Center.
- Grab scapula from the Design Center. Glob paint onto the top of the screen frontside right above the design.
- Use a squeegee from the Design Center. Firmly press down and push the paint over the design.
- When finished, use scapula to return extra paint back into the acrylic paint tub.
- If you wish to dry your material at the Design Center, please use our drying racks.
The Design Center has vinyl, Cricut machines, and Cricut Design Space software. Please feel free to utilize these resources to create a design from vinyl.
Yes, make sure your vinyl design is backwards. The text will "mirror" onto the object that you silkscreen.
Once the vinyl in on the silkscreen. Use the Cricut scraper tool to smooth out air bubbles. Any air bubbles will result in paint pooling.

The Design Center has many different acrylic paints available.
The Design Center has drying racks that your can use for overnight drying.
Not all materials are the same. Fabric and paper can vary in absorbent material and overall thickness.
- The thicker the material, the more paint will be absorbed.
- Great fabrics to use are cotton, polyester, silk, and wool. Feel free to experiment with other materials.
- For paper, cotton material is a great choice.
When using the squeegee, apply hard pressure and spread your fingers. Try to apply even pressure across the entire squeegee.